


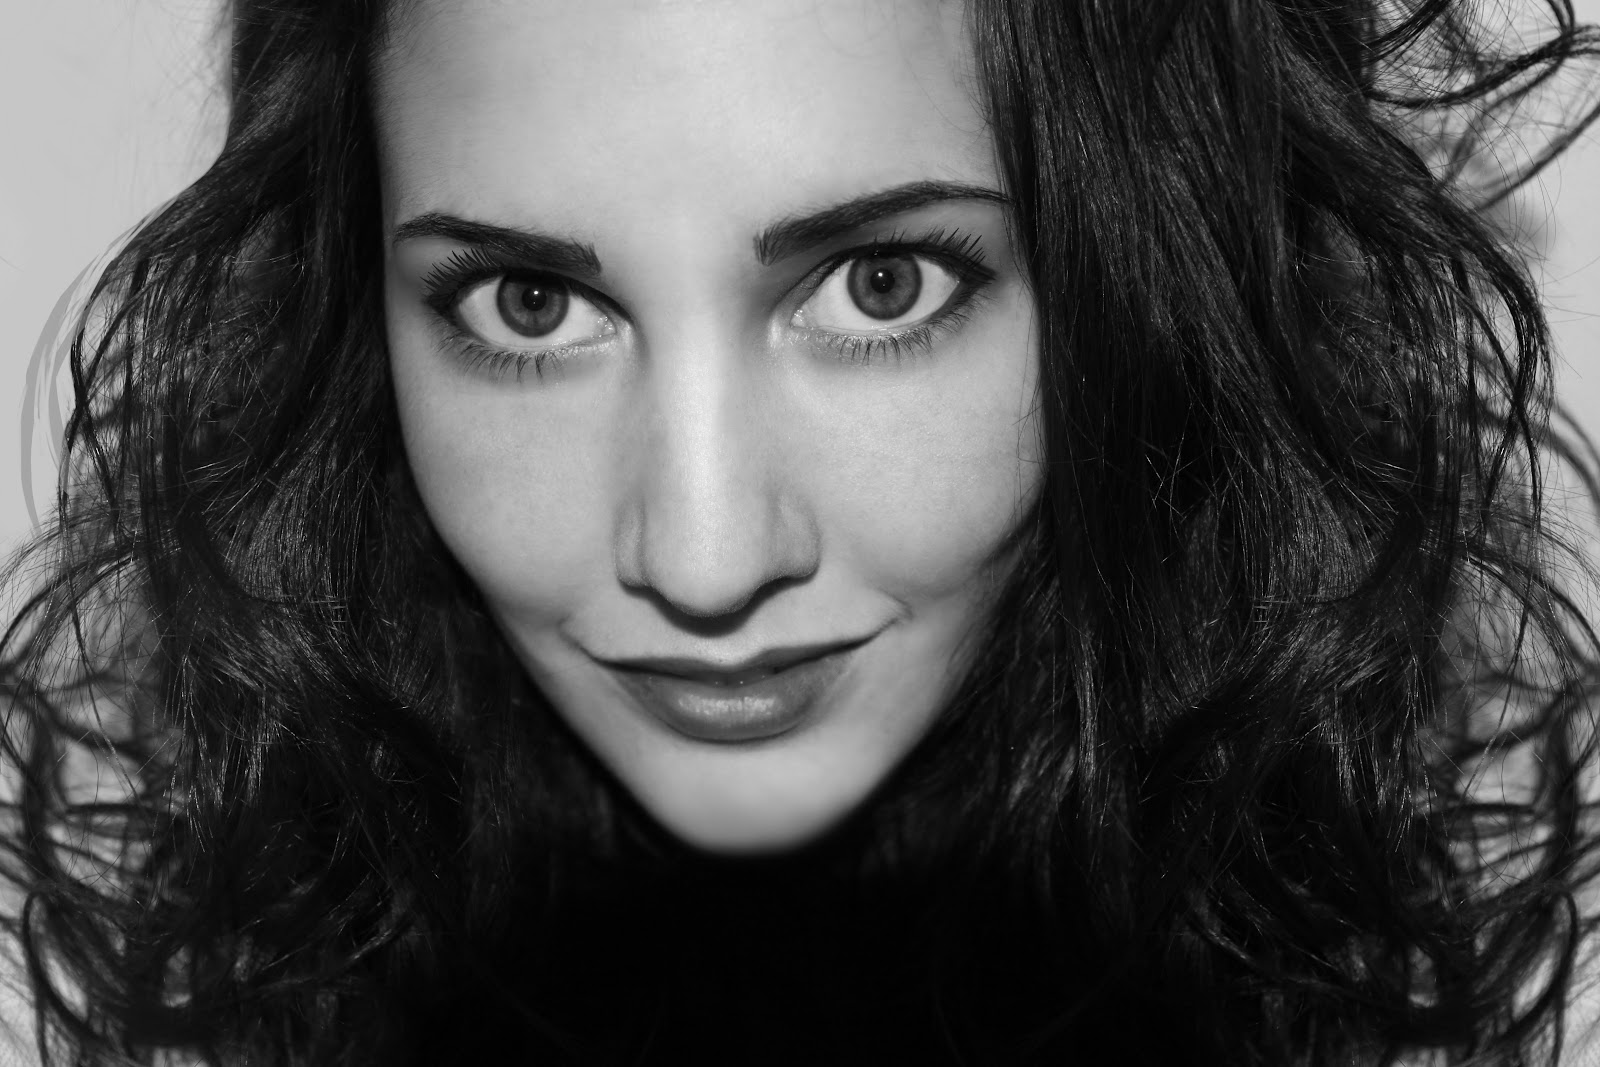
* If you click on an image, you can flick back and fourth between the before and after to see the changes I made!
I LOVE retouching photos, not because I'm not happy with how I look (if I was I wouldn't have the original photo there, but because I love seeing how I can transform just ordinary photos into something that is extraordinary and looks like it was shot in a studio. I also learnt today that changing eyebrows can alter someones entire appearance ha!
Here are some tips if you are looking at doing some retouching of your own:
A tablet is always great
You have so much more control over pen stroke if you use a tablet - for areas such as eyelashes, adding makeup or eyebrow hairs as I have done.
Avoid the plastic look
If you want your photos to look natural and realistic, you need to leave texture in the skin, otherwise the model will just look really plastic! If you are masking the area, just reduce the opacity! For this image I just used the patch tool and healing brush until I was happy!
Overlay
Overlay is fantastic for additions like makeup. When you add lipstick on it is just thick block colour, but when you change the blend mode to overlay the texture of the lips come through, so you can have a vibrant colour and still have lip texture!
I'm not a photoshop pro, but If you have any questions I'd love to help!


